Sunday, April 7, 2013

Teacher Gifts

With teacher appreciation week just around the corner, and the end of a school year approaching, I thought I would share the teacher gifts that I made for my sons' teachers last year.


These were altered clipboards and I made "clipboard" cards to match using the Cricut Expression 2.  I designed each card on the Gypsy so that I could cut out multiple pieces using the various colors, as well as weld my card pieces together.  I made the little boys hair match each one of my sons' hair.


I also made a post it note holder for the bottom and placed in a matching gel pen that I bought from staples.


Here is a close up of the card itself.  Inside, I used card stock that appeared to look like notebook paper.  I used the Chomas Creations adjustable pen holder to write A+ teacher and the Thank you.


I place the "notebook" paper under the "clip" on the clipboard.  I then added a gift card to suit each teacher and placed it under the clip as well.


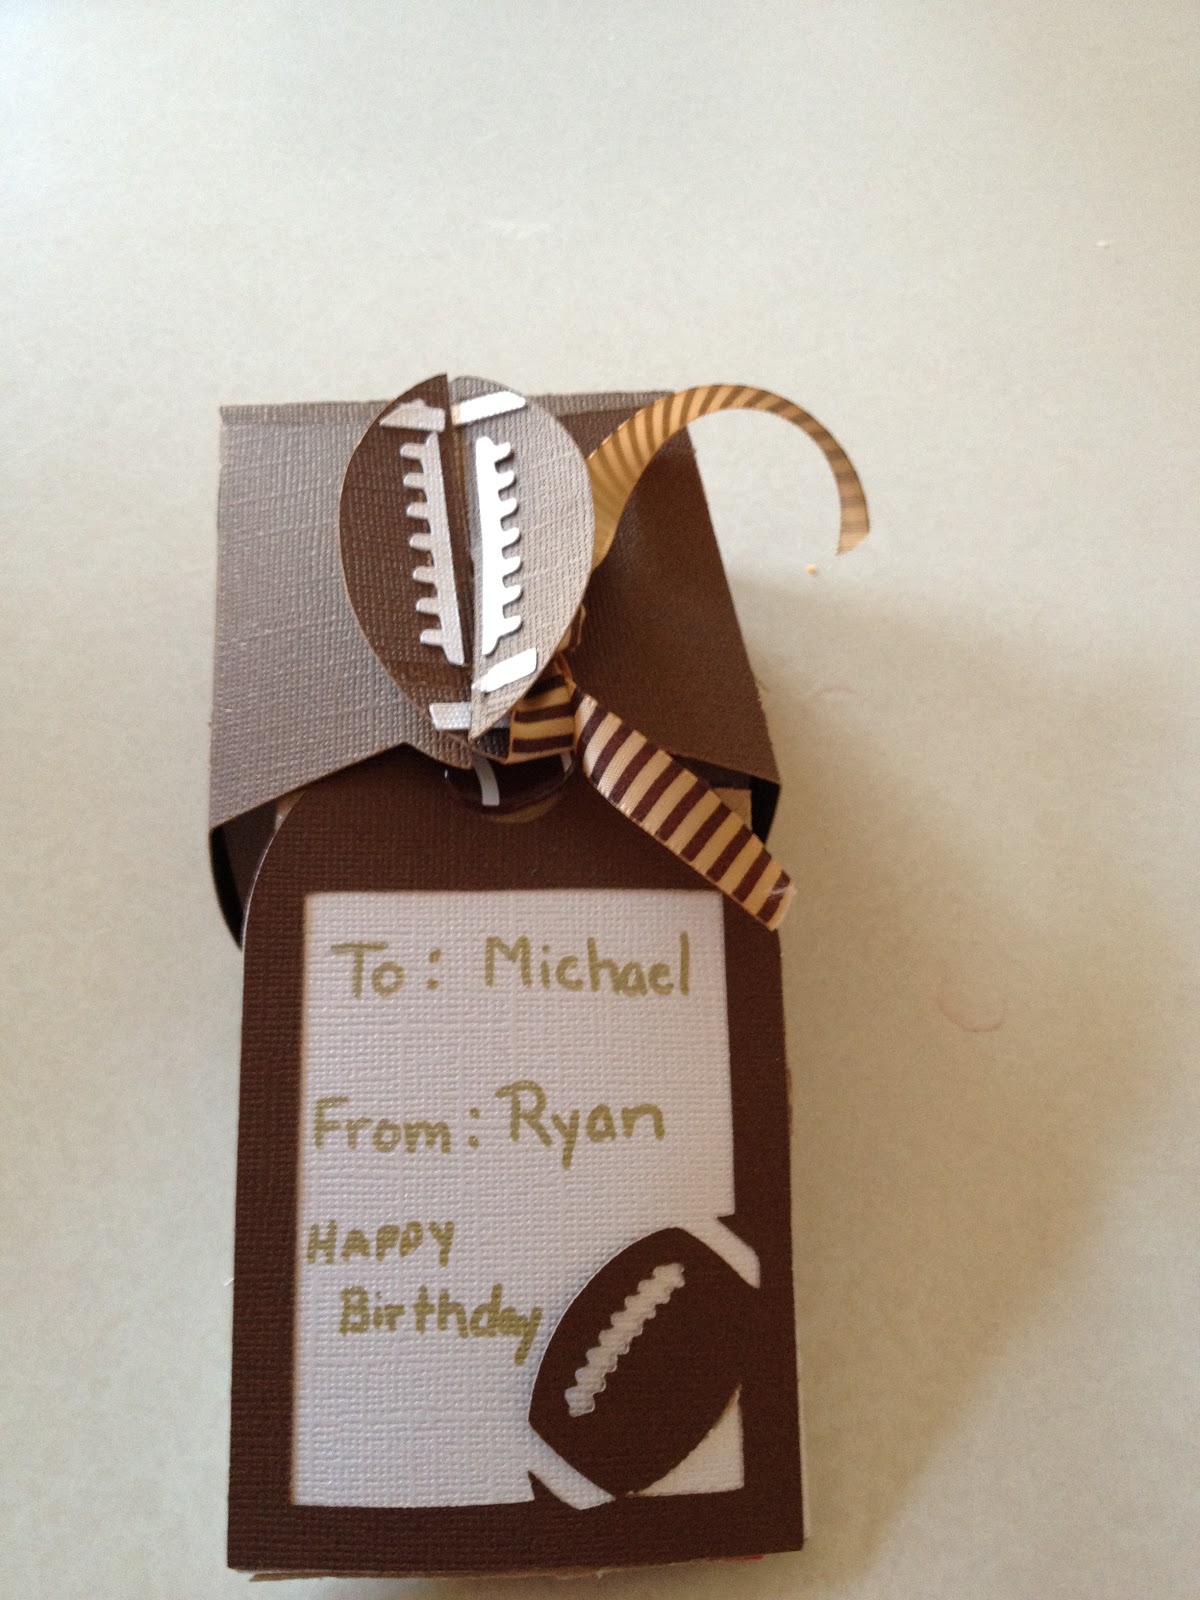
I think they turned out so cute that I might just try doing this again for this year's teachers.  My oldest son has a male teacher that loves sports.  That should be easy.  I am thinking a Steeler's themed clipboard with a gift card for the Pirates?  I did wrap each finished clipboard in clear gift bags, but I am not sure why I didn't take pictures.

Monday, April 1, 2013

Valentine Fun

I know that we just finished Easter, which really crept up on me out of nowhere, but I wanted to share what I made for my boys for their school Valentines.


I made the smore valentines for my 5th grade son's class.  I bought the smore image from the Silhouette Online Store and made it into a print and cut.  The rest of the font I typed in myself.


He chose to add chocolate marshmallows and we put 2 hearts in each bag.

 My second grade son chose to go with the mustache theme.  We took his picture wearing a mustache that we cut from Silhouette Online Store.  I had the cards printed through Wal-mart.  I topped the bag with another mustache.


In addition to some chocolate treats, we gave each child a mustache cut from fuzzy paper that I ran through my Xyron with repositional adhesive.


The hot chocolate mugs were for my students.  I purchased the Santa mugs at Christmas time and never put them to use.  I altered them my using brown paper and running them through the Sizzix's texture Boutique.


I added a small treat bag to the back with heart shape and mini marshmallows!


Sunday, March 24, 2013

Split Letter Floating Frame

A friend of mine and co-worker was moving into a new house.  I had seen these split letters done in the past and always wanted to give it a shot.  One cold Saturday, I set myself down with my lap top and trusty Silhouette Cameo and set to work.  Here is what I came up with.


The photo isn't great since it reflects off the glass, but you get the idea.  After downloading the font, I split the letter in Silhouette Studio and added their names.  I bought an additional cheap from to use the extra piece of glass as the backing.  The split initial was on the inner glass, as well as the bow.  I put the family name and each of their names on the outside of the glass to give more of a 3D look to it.  I thought this made a nice house warming gift.

The Book Nook

I just realized that I never finished posting this post that I started last year, shortly after receiving my Cameo.


Well, I finally completed my first Silhouette Cameo project. I wanted to keep it simple while I am learning the software. I downloaded the free font named Waltograph. Then I simply typed out the words on the virtual mat in Silhouette Studio.  I cut them out on dark blue vinyl.


This has always been my favorite "room" in the house!  When we had our basement finished into a game room, I had them plaster and floor the space under our steps.  It has both a rocking chair and a wooden bench.  This where we kept all the books and stuffed animals.  I also painted a chalkboard on the right hand side as you come in.  I can not take the credit for painting the Pooh tree.  It was just my idea.

The kids have outgrown it for the most part.  On occasion I can still find my youngest one inside, but it is a space that I can not change.  I will have to take more pictures someday to add to this post.  Right now I just wanted to display the words themselves.  Thanks for stopping!

Home

This was my first big project that I tackled last summer using my new Cameo.  I made this for my mom when they moved into a new house.  The tile is left over from the floor tile that they used on their kitchen floor.


They have it nicely displayed in a corner of their kitchen counter.  It looks quite lovely their and I was very proud of myself!


This was very time consuming.  If you do a project with a thin font, you have to weed carefully and pull the transfer tape off very slowly!  I apologize that I forgot the name of the two fonts that I used.

Sweet 16 Buckets

I know you're really not supposed to post multiple posts in a day, but a I am really a year behind in sharing any projects.  So here goes one of many today.

I was asked by a friend to decorate and put girls names on these plastic buckets for a Sweet 16 party.  I used my Cameo and some colorful vinyl in order to complete the project.


I purchased the cupcake and the Sweet 16 logo from the Silhouette on line store.  I added a gem to the top of the cupcake and in the polka dots.


I thought the vinyl would be easily taken off if the girls wanted to use the personalized buckets as shower buckets in college.


I used the witch feet from the Silhouette store.  I just altered them using "girly" colors and gems.  The girls names were cut from Curly font.  I put the finishing touches by tying ribbons on the handles.

A Long Expected Party


On Friday, my youngest son turned 8.  He requested to have a Hobbit Themed party and invited a dozen little boys to join in on the Expected Party.  Luckily, I put Pinterest, Google, and my trusty Silhouette Cameo to work.


Of course, I had to make a sign like the one Bilbo Baggins had posted to his fence.  I found 12x12 paper at JoAnn's that I thought look rather Lord of the Ringish.  I then cut the letters from Party Business font using black vinyl.  I adhered the finished product to chip board for stability.  It hung on our front door during the party.


Originally we had planned to make every child a bow and arrow made out of popsicle sticks and Q-tips.  Unfortunately, I gave up since we couldn't get them to work.  I did, however, hang the picture of Smaug the dragon that we were going to shoot the arrows at.  I bought this sketch pattern from the Silhouette store.  I drew him using the adjustable pen holder from Amy Chomas.  I love the way it turned out!


We changed the entrance to our Book Nook into a Hobbit Hole.  I found some really cool ideas for doing this, but by the time I got to it, I was completely exhausted (also recovering from unexpected gall bladder surgery 4 days prior to the party) and just hung it rather quickly.  The boys just loved crawling inside the streamers.


What is a party of any kind without a cake?!  This is the Hobbit cake that I made.  The Hobbit Holes were from little bunt cake pans.  I thought they turned out rather cute!  I frosted the cake with Cool Whip's frozen whipped cream frosting and it was very good!  Tyler built the Lego kit, Gandalf returns.


I am going to end this post here for now since it is rather long.  I forgot to take pictures of the invites and thank you cards.  I also have a banner, all of which I made on the Silhouette!  I will post them later.  Please stop back my friends!


Tuesday, March 6, 2012

Football Gift Box and Tag

I made this box for another 10th birthday my son was attending.  Of course, the gift card did not fit inside again, so I put it inside the tag and placed candy in the box.


The box and tag were both cut from Wrap it Up.  The box was fit to page so I could not make it any larger.  I cut the tag and the shadow twice.  I glued the white to the front of the tag to write the names.  I glued in a toilet tissue tube next in order to hold the gift card inside.  Finally, I glued another brown shadow in order to cover up the tube.  The paper used was coordination gemstone.

Angry Bird gift box


I made this Angry Bird box upon my son's request for a birthday party he was attending.  The problem was that it did not fit the gift card!  We ended up filling it with candy and placing the gift card in the envelope on the bottom of the box.  The box was cut from the ice-cream sundae box on the Sweet Tooth Boxes Cart.  I loved this shiny red paper I bought from JoAnn's.  We first got this idea from Pinterest.  I will post the credit later once I can get up my boards in order to give credit where credit is due!  It was fun to make!

Cupcake card and box

 This was the cupcake box and accordian folded card that I made for my friend's daughter's 12th birthday in October.  Yes, I am a little late posting.  The card was hand cut and the box was from Sweet Tooth boxes.

 I added a pull out tab on the back of the card for signing our names to the card.  I attached a small cupcake sticker at the end for easy pulling.  The Happy Birthday and the candles were also stickers that I bought from JoAnn's.
 Here is a close up of the cupcake on the top of the box.  It matches the cupcake on the card, only cut out at a larger size.
Since it has been so long since I cut this out, I can not remember what cart I cut the gift border or the  cupcake from.  I love the swirly design on this one.  If you are interested, I can go back and look it up.  I most likely have a gypsy file on it.  Thanks for viewing!

Friday, March 2, 2012

Whinnie the Pooh Shower

A friend and co-worker of mine just adopted a sweet baby girl in Nov.  We threw her a late baby shower this morning over breakfast.  Her theme is Whinnie the Pooh.  I used the Pooh and Friends cartridge and the Pooh Font Cartridge to create the banner, centerpiece and night light.


The baner is actually cut from fabric.  I layered yell and the pastel striped using elegant edges cartride.  The letters were cut from Nursery Rhymes.  The peeking Pooh and Friends were from Pooh and Friends while the beehives and honey pots were stickers I bought from JoAnn.


I couldn't believe I found this pot that looked like a honey pot in JoAnn's flower pot section.  I went back latter and changed 2 flowers to incoporate the fabric on the banner.  The flowers were from Walk in My Garden.


Glass blocks do not photograph well, but I used Dusted Chrystal Vinyl and cut a sleeping Pooh along with the words Sweet Dreams.  I couldn't belive I found yellow, pink and blue lights!  It looks gorgeous in the dark!  I used the same fabric layered over the yellow ribbon to match the banner again.  I also used a couple of the bee stickers I had left to tie it all in!

Thursday, March 1, 2012

Let it Snow

The day before my daughter's 14th birthday party, she informed me that she still wanted treats bags for her guest!  I thought they had grown out of them, but I was glad to do them. She had about 8 girls sleep over on New Year's Eve.

I cut the words "let it snow" out of white vinyl and put it on one side of the mug.  I engraved each girls name on the other.  We filled them with hot chocolate, marshmallows, and candy cane kisses.  We placed each one in a gift bag and made the Thanks Snowmuch topper.  I had to use my gypsy to block out So in So Much and add the word snow.  I thought it worked great and the girls loved them! Since it was last minute, I never did get a close up picture of the mug before putting them in the bags.

Gift Tags

It has been a while again, but I wanted to post the gift tags that I made to attach to the light blocks that I made for my classroom aides at Christmas.  I used the adjustable pen holder for the Cricut from Amy Chomas.  I love these pen holders.  They open the door to so many possibilities!

I used Story Book font for the To and From.  I used the Nusery Rhyme cartridge for the names.  I just love both of these fonts!  I used an image on each tag that matches the design on the blog. I inked the edges of the tags to provide additional color.  I was very excited on how these turned out.